Pin It Hover Widget

Showing posts with label Peggy. Show all posts

Tuesday, January 20, 2015

Salt Lake, Utah Winter/Spring Sewing and Quilting Classes

We have begun our Winter/Spring 2015 sewing and quilting class season and we couldn't be more excited for the new additions to our roster. Not only have we brought back our most popular and fundamental classes, but we've also added a few completely new offerings! Read on to get more details about our up coming classes --

Youth Sewing for Home-schooled Children:

We have traditionally offered our youth sewing groups in the evenings once school is out. However, this year we are offering a youth sewing class in the afternoon designed specifically for those students who are taught from home!

In this class, students will learn sewing from the ground up by first learning the different tools needed to sew and how to hand sew. They will then quickly move on to learning to sew with a sewing machine and will begin to make their first projects including a pillowcase and a pair of pajama pants. The class is designed to make students feel successful and build confidence each week with their patient and caring teacher, Peggy. 

Classes are held on Thursdays from 1-3 every week except on the third Thursday of every month. Class costs $10 per sessions and does not include supplies. 


Cuddle Star Pillow:

Learn how to easily make this cuddly and soft star pillow using only 17 squares of cuddle/minky fabric, two buttons and some stuffing! While it may look difficult, this is an easy project and will be a favorite gift to your children or grandchildren. 

This class will be held Saturday, February 29th from 10 am to 2 pm and costs only $20, not including supplies. 


Tuffet Class:

Little Miss Muffet had one and now you can too! Create your own foot tuffet in this brand new and exciting class taught by Joyce and Pat from Bouncing Bobbins Quiltworks! In this class, you will first learn to quilt your tuffet top using a jelly roll. Then you will learn how to put together and cover your tuffet! 

This class is taught on two Saturdays in March, the 14th from 12:30 to 3:30 and the 28th from 12:30 to 4:30. Homework is required in between classes. This class is $105 and includes your pattern and your tuffet kit. The class fee does not include your fabric or your wooden feet. There is a 10 person maximum for this class, so sign up ASAP! 


My Favorite Bag:

Learn to make this adorable bow bag with plenty of room and pockets for all your needs -- as well as plenty of style! Once you've made one, you will end up making more for your friends and family; this isn't called "My Favorite Bag" for nothing! 
Class will be held on 2 Thursdays in March, the 19th and the 26th, from 6:30 to 8:30 pm. Class costs $25, not including supplies. 


Block of the Month:

We are trying something new this year and are offering two Block of the Month classes: a traditional Block of the Month class taught in our classroom and a Block of the Month class entirely taught online! 

Our in-store Block of the Month features Peggy's design featuring the Moda Love quilt pattern as the center medallion surrounded by 12 unique quilt blocks. The quilt will also feature a ribbon outer border! This class starts in February and you can choose to attend the second Wednesday of every month from 7 to 8 pm or the second Saturday of every month from 10 to 11 am. Class costs $26 for the year and does not include the cost of supplies. 


Our online Block of the Month class features the quilt Playful Pinwheels, designed by Sandra Stradley! It features 12 different styles of pinwheel blocks, done twice in different color combinations to add fun and flair! You will be able to sign up for the class soon on our online webstore - you will receive a downloadable file with information about how to access our private class website which will have each pattern published once a month as well as little surprises to the site such as tutorials, recipes and more! 


This is just a small sampling of some of the exciting sewing and quilting classes we have coming up. For a complete list of our Winter/Spring classes or for more details about the ones listed here, visit our website, give us a call at (801) 561-8726 or pay us a visit in store. We are located at 9135 S Redwood Rd West Jordan, UT 84088. 

We look forward to seeing you. Sew on! 

Saturday, November 15, 2014

Customer Show and Tell: Liz's First Applique Quilt

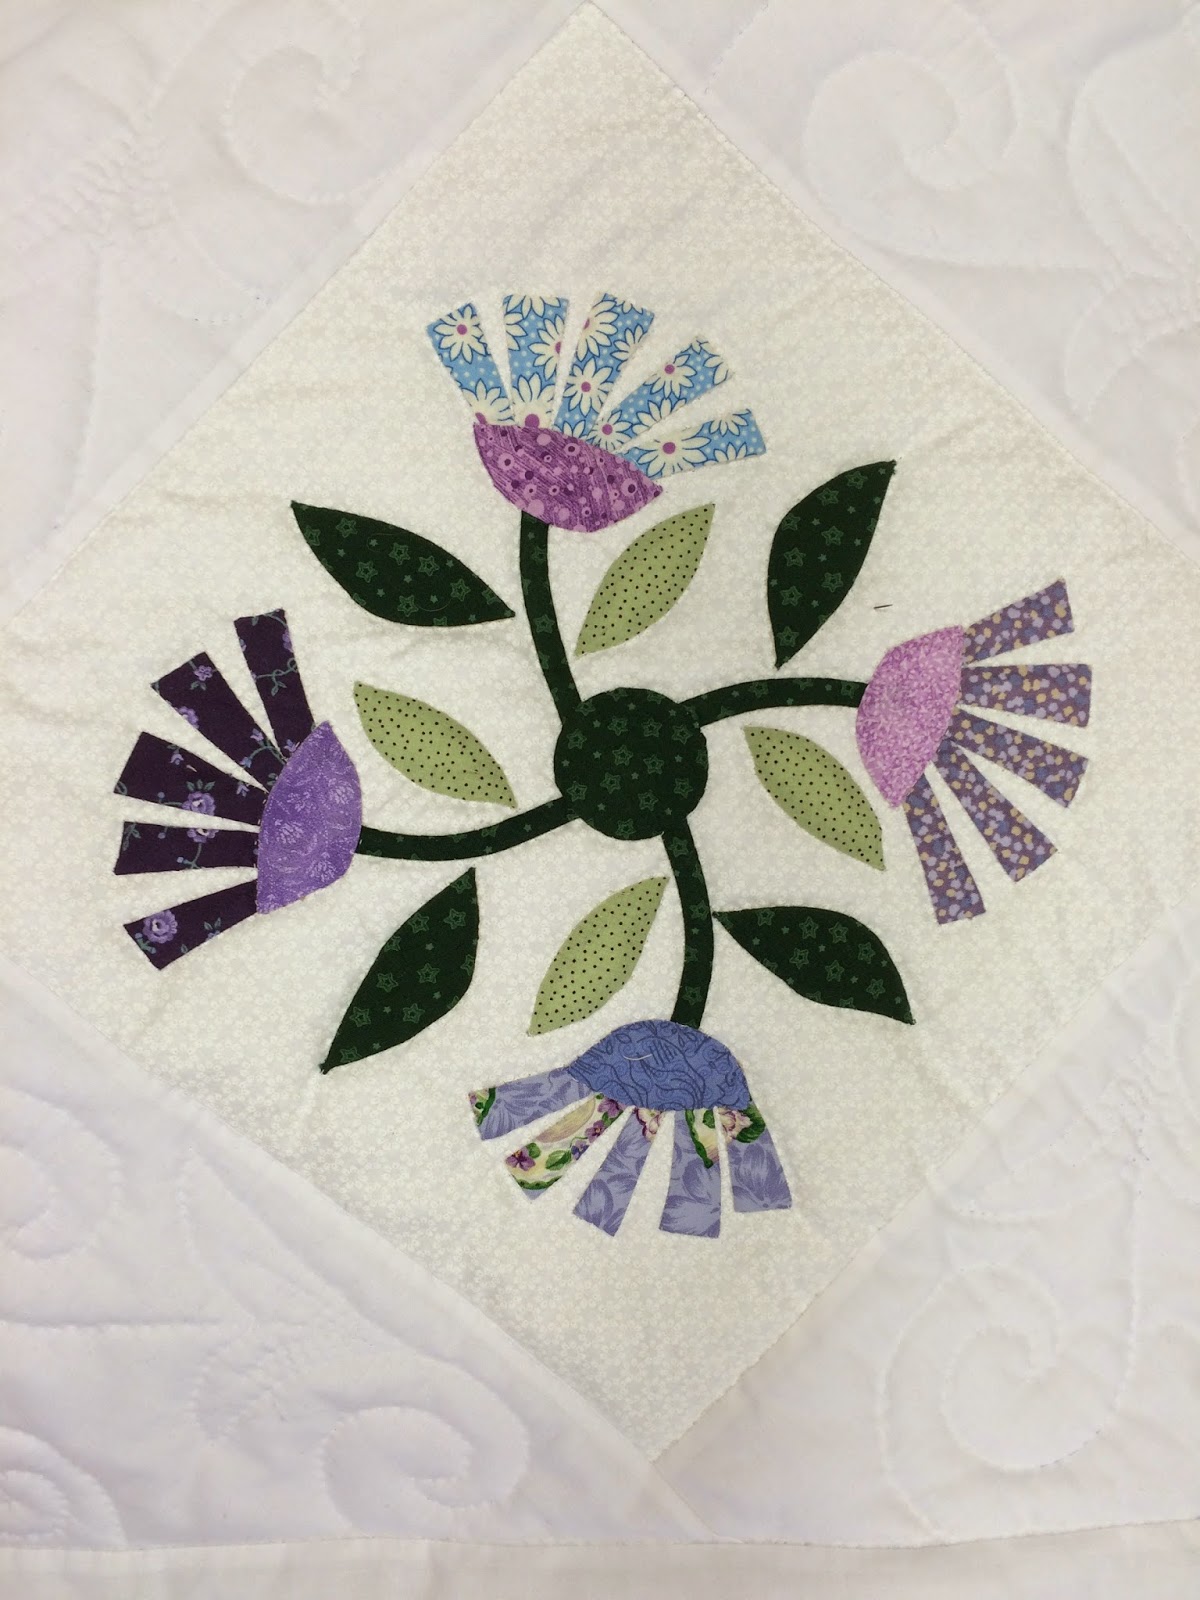
We had a great Show and Tell this week from one of our students in Peggy's Open Sew class. Liz had started creating several floral motif applique blocks as a beginning project for her first adventure into hand applique. Unfortunately, she had all these beautiful blocks but had no idea how to arrange them into an attractive and unified quilt.


She worked one on one with our teacher Peggy and they came up with a stellar queen-sized layout to harmonize and bring Liz's beautiful quilt blocks into one cohesive quilt.


We think Liz did a beautiful job on her applique and we absolutely love her quilt. We would say her future in hand applique looks very promising. Thanks for sharing Liz!

If you've got a project you'd like to share, let us know! Send us your pictures and story to info@fabriccenter.net or come in and visit us.

Friday, April 18, 2014

Tutorial: Fabric and Tulle Carrot Goodie Bags for Easter

Easter is this weekend and if you are still looking for a cute way to gift some treats, we have an adorable carrot goodie bag tutorial designed by Peggy using fabric and tulle! You will need to click here to print out the instructions and the pattern.  Once you've printed out the instructions and pattern, cut out the triangle piece and lay it on the fold of an 8 1/2" x 11" piece of paper. Trace and cut out (without cutting the fold side); this will become your template.

Layout your template on orange fabric and cut out. Use scraps to get a bunch of different printed carrots, or you can get 6-7 carrots out of a 1/3 yard. Alternate your top and bottoms when laying out and cutting from your fabric to maximize your fabric use (refer to first illustration on printed instructions page).
In this picture, the carrot has been folded on the left and sewn on the right. You can see the serger seams on the right at the bottom of the carrot. A serger may be used instead of a sewing machine for this step. 
Once your pieces are cut out, fold them in half right sides together and sew along the straight seam 1/4". Pink the top edge of the carrot. Cut out a 3" x 11 1/2" piece of green tulle or netting and place on the wrong side of the carrot 3/4" down from the top. Attach with a zig zag stitch in green thread about 1/2" from the carrot edge. Zig zag stitch should be wide enough to thread ribbon through. Sew over the top of the beginning zig zag about 4-5 stitches (these steps are all visible in the picture below). 

Can see the top of the carrot has been pinked and the tulle overlaps the top of the carrot about 3/4". The zig zag stitch is about 1/2" down from the top and has been overlapped about 8 stitches just to the left of the side seam.

Turn your carrots rights sides out and, using a needle, thread 1/8" or 1/4" green satin ribbon through the zig zag stitching. Overlap at the beginning about 4 or 5 stitches to make it strong. Stuff carrots with little treats like jelly beans and chocolate and pull on ribbon to cinch the top together. Tie a lovely little bow and you have a delicious carrot to give to your little bunny this Easter! 


Peggy had a great idea to also decorate with them by using a bunny basket. You can also stuff them with poly fill and use them as decorations around the house, but personally I think they are best stuffed with chocolate eggs! 


We hope you all have a wonderful Easter weekend and we'll see you in store soon! 

*This tutorial and pattern Copyright by Fabric Center 2014. Pattern and tutorial is intended for personal use, not to be made for sale or profit.* 


Friday, March 7, 2014

Color Can Make a World of Difference!

UPDATE (4/24): If you are interested in learning more about how color theory as it pertains to quilting or would like to improve how you pick patterns, prints and colors for your quilts, enroll in our Color Palette Class taught by Cheryl Bridges, a trained graphic designer! For more details, check out our Quilting Classes Page on our main website.

In art and design, whether it's interior or quilt design, color and color placement can make a huge difference! I'm sure you've had a situation where you see a quilt and are not immediately impressed overall because the color scheme or the way the colors were placed did not strike your fancy. But then you saw the exact same quilt but with a different color scheme and were then in love!

This year, we are offering a Block of the Month class unique to previous years because we are offering the Stitchin' Star quilt to be made in two distinct color combinations. The first is a triptych color scheme, as seen in this example using red, black and white.


The second option is a scrappy, Civil War era inspired color scheme:


Look at the significant difference between these two quilts, even though they are the exact same pattern!! The first is bold and balancing a traditional look with a contemporary feel while the second is colorful and upbeat while still traditional and warm. 

We want to encourage our students, as well as all our customers, to not stop at just a few options for any given quilt but rather to see the raw pattern as the jumping off point to creative thinking about color theory and placement. In this way, you expand the possibilities and thus the longevity of a well-written and well-designed pattern. Simultaneously you also learn about depth, perspective and texture that can be applied to a quilt and how this can result in an infinite number of visually-appealing and unique designs. 

Using an EQ program, or Electric Quilt software, Peggy created these additional looks simply by playing around with the color and placement:


If you would like to practice on your knowledge of color, color theory and color placement, we've attached a line drawing of the Stitchin' Star Quilt for you to print and color in. Print several and play with different color combinations and/or color placement to get an idea how each one conveys a different appearance and feeling. 


If you'd like some inspiration to get started, check out and follow our Color Scheme Pinterest Board. Finally, check out this nifty tool we sell to help you in picking out a color scheme for your next quilt. The Pocket Color Wheel is an invaluable tool because, thanks to it's compact size and mobility, it can be taken with you for other design adventures you may have such as redesigning a room in your home, planning a wedding, or building your next house. 


Tuesday, December 24, 2013

Last Minute Gift Ideas

We have a bunch more gift ideas for those who are scrambling on the last Christmas shopping day! We have both large, big ticket ideas as well as smaller stocking stuffer ideas. We have gifts covering a wide range of price ranges, we sure hope we have helped you find the perfect gift to give your friends and family members who have a quilting and sewing passion like us!


Lara has a great idea with the Turn It All set -- you've never so easily turned straps and loops. It is truly a life saving tool! 


Both Orva and Peggy want an Olfa cutting mat! They come in three sizes, but let's be honest, any devout quilter will always want the largest to have the optimal amount of cutting space. 


Pay close attention to Tammy's list if you are looking for gifts for a applique quilter or for those who love needlework. All her items are designed to help make hand sewing easier and enjoyable.


We hope we helped you find the right gift for those on your list with this fun series! It was a lot of fun to discover what each of the employees would love to receive for Christmas -- it was an amusing look into each of our quilting/sewing personalities. 

So our customers are informed, we will be closing early on Christmas Eve at 5 pm and will be closed Christmas Day. Stay tuned on the day after Christmas for a big announcement! Merry Christmas from everyone at Fabric Center!